SecureVideo offers several options to process payments for sessions. This support article goes over how to add an Authorize.net merchant button to your waiting room page. To set up an Authorize.net integration, you must have an Authorize.net account.
Note: Collecting payments is an activity that is explicitly excluded from HIPAA mandates, according to an FAQ by the Department of Health and Human Services (HHS) about Business Associates, under the section "Other Situations in Which a Business Associate Contract Is NOT Required.":
- When a financial institution processes consumer-conducted financial transactions by debit, credit, or other payment card, clears checks, initiates or processes electronic funds transfers, or conducts any other activity that directly facilitates or effects the transfer of funds for payment for health care or health plan premiums. When it conducts these activities, the financial institution is providing its normal banking or other financial transaction services to its customers; it is not performing a function or activity for, or on behalf of, the covered entity.
You may also be interested in these articles:
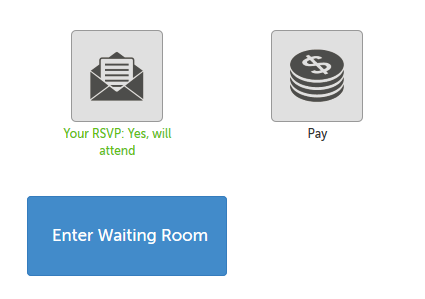
Participants arriving to your online session will see a "Pay" button and can be directed to your credit card processor right from the waiting room page. (Standard Authorize.net seller's fees apply.) The PayNow button will appear like this:
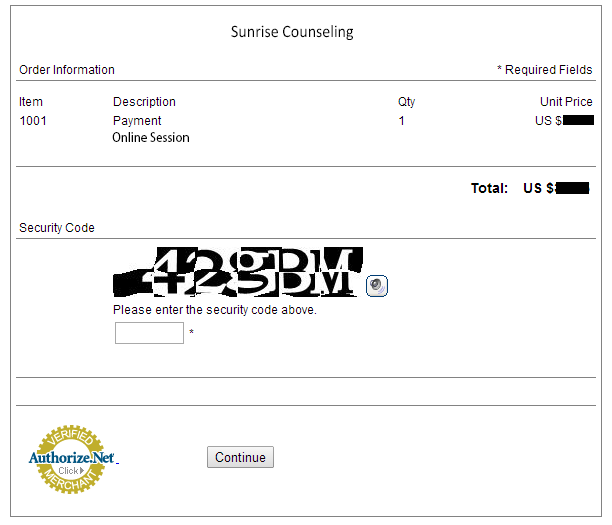
The payment page will look something like this, where you have set the price:
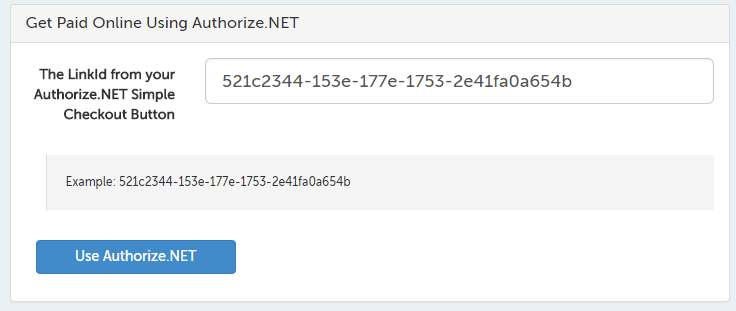
1. Please refer to Authorize.net's documentation for information on creating a new Buy Now Button. Once you generate the code for your button, look for the button's LinkId. For example, the LinkID number in the example below is bold-faced:
<form name="PrePage" method = "post" action = "https://Simplecheckout.authorize.net/payment/CatalogPayment.aspx">
<input type = "hidden" name = "LinkId" value ="521c2344-153e-177e-1753-2e41fa0a654b" />
<input type = "submit" value = "Payment" />
</form>
2. Copy the LinkID value only.
3. Back in your SecureVideo.com account, click on the "Features" tab and select "Get Paid Online" from the drop-down menu.
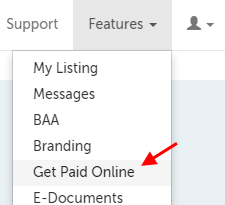
4. Click on the "Get Paid Online Using Authorize.NET" header to expand that field.
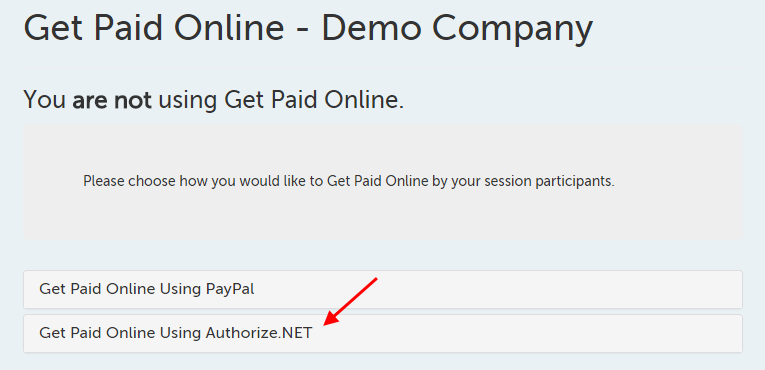
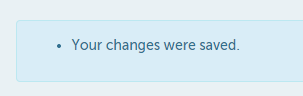
4. Paste the LinkId into the field, and then use the "Use Authorize.NET" button in the lower left-hand corner to save.
You should see a "Your changes were saved." message to confirm your changes were saved.
All usual Authorize.net transaction fees apply.
This article was last reviewed by our Support team on July 10, 2023.